
The photographs you take at an accident scene can effectively combat costly insurance fraud and preserve your company’s hard-earned reputation. More so, you can help reduce or eliminate the cost of your claims, which may ultimately reduce your insurance costs.
To help capture the best photographic evidence possible, follow these tips:
Make sure your device is fully charged and the lens is un-obstructed and clean. Be sure you have sufficient memory or storage space on your device. If you don’t, delete other unimportant data to make room for the accident photos.

Use the camera’s zoom feature, if equipped, to capture as much detail as possible.
Use the camera’s flash, if needed.
Do not photograph anyone that is injured.
Photograph all vehicles involved from all angles (4 corners and 4 sides straight on) to establish vehicle positions, the boundaries of the crash scene and the impact zone. Document the vehicles’ identifying features (i.e., license plates, VIN numbers, distinct markings). Take close-up photos of the damaged areas of all vehicles.
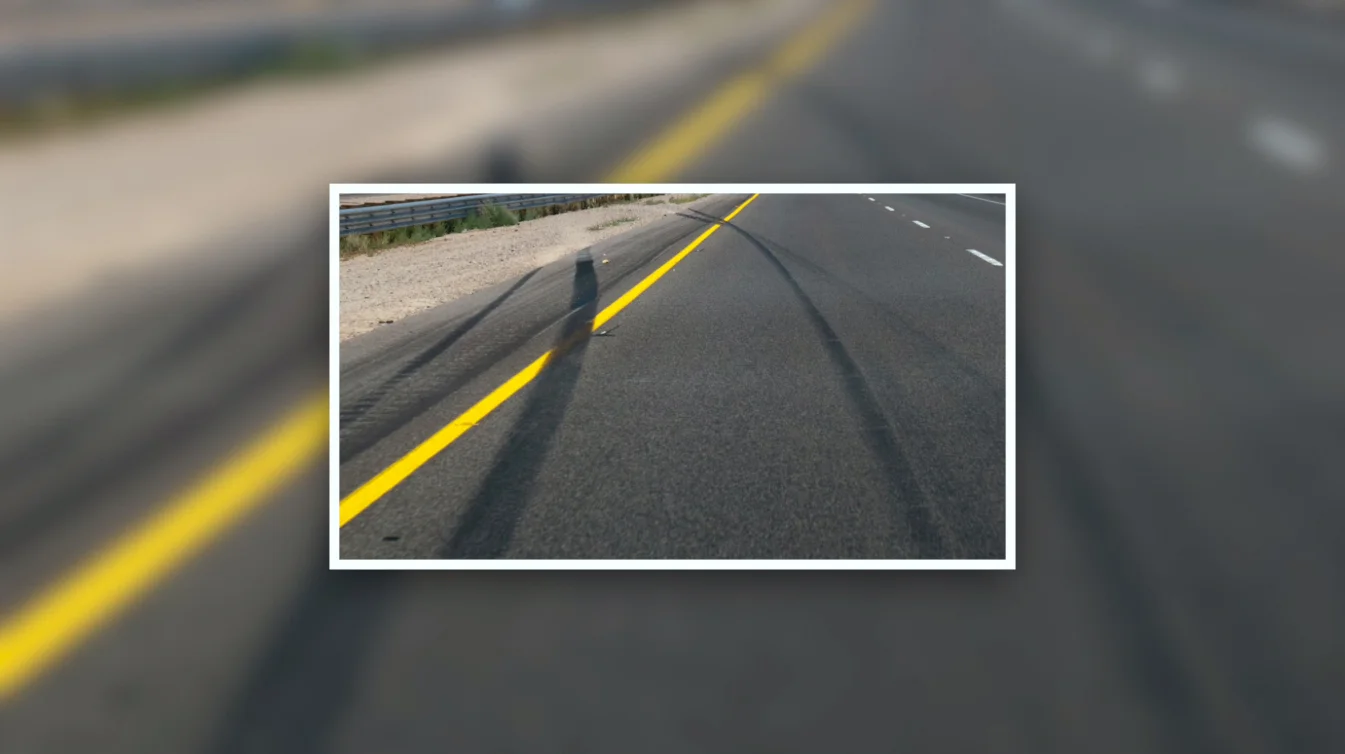
Photograph the street layout, road condition, landmarks, signs and traffic control devices, any obstructions, as well as marks or gouges in the pavement/dirt, or debris resulting from the accident.
If time allows, use the camera’s video feature, if equipped, to record vehicle placement, damage and other aspects of the accident scene. Do not make any comments while shooting the video.
Note the date, time, place, name of the photographer, and the type of device used as the accident scene photos and videos may need to be authenticated. Do not delete any of the photos or videos.
Don’t post anything to social media.
